How to Charge Your Yummly Thermometer for Perfect Results
I always want my food to taste great, so I make sure I charge my yummly smart thermometer the right way. It’s easy! First, I put new batteries in the dock. Then I put the thermometer in the dock and let it charge for at least 30 minutes. If you ask me how to charge yummly thermometer, I say, “Just follow these simple steps and you’re ready to cook!” 🍗🔋
Charging Steps

Battery Insertion
I always start by putting two AAA batteries into the charging dock. The Yummly smart thermometer will not work if I skip this step. The setup guide says I must use the two AAA batteries that come in the box. I open the back of the dock, put the batteries in, and close it tight. I make sure the plus and minus signs match. If I do not put the batteries in right, the dock will not charge my thermometer. I learned this the hard way! 😅
Using the Dock
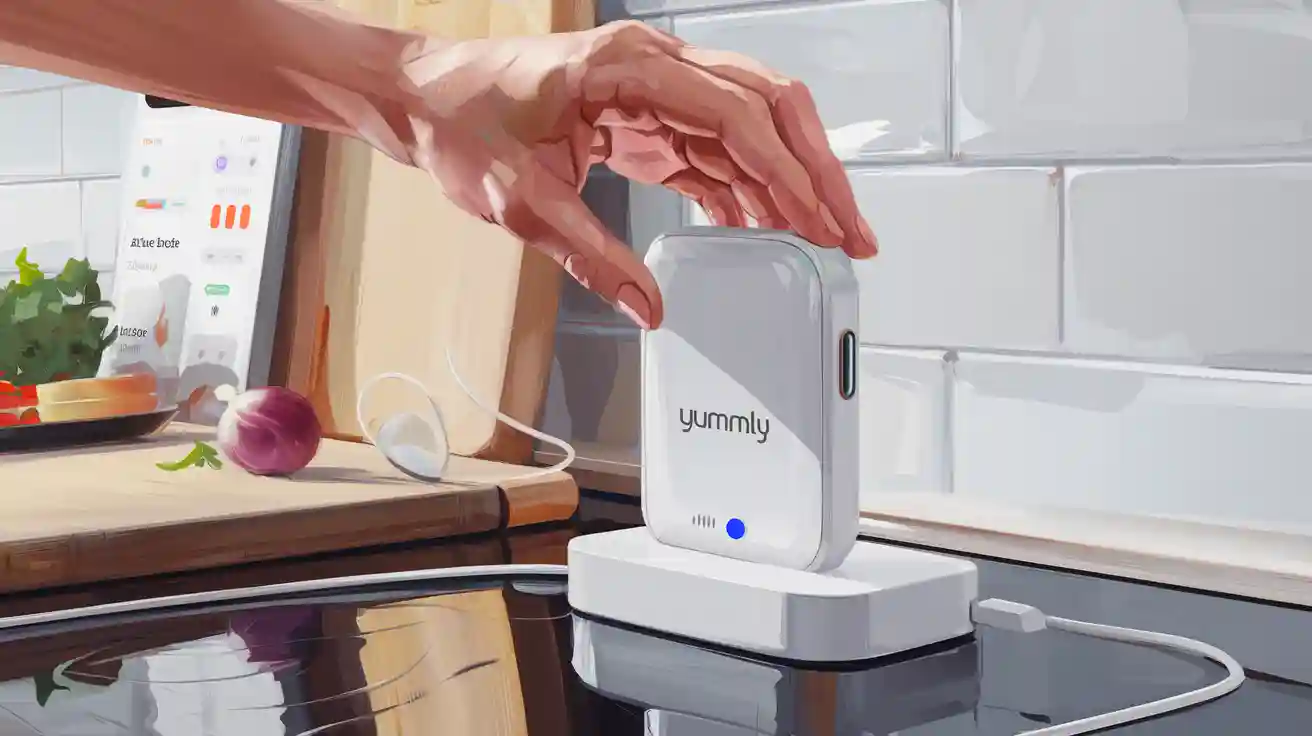
Next, I place my Yummly smart thermometer into the charging dock. The dock has a magnet, so it holds the thermometer in place. I feel a little click when it is secure. Sometimes, I stick the dock to my fridge because it has a magnet on the back. This makes it easy to find. I always check that the thermometer sits flat in the dock. If it is not flat, it will not charge. I like how simple it is!
Tip: If you want to know how to charge yummly thermometer, always check the dock is on a flat surface or stuck to metal.
Charging Time
I let my Yummly smart thermometer charge for at least 30 minutes before I use it. I wait because I want the best results when I cook. If I charge it fully, I can use it for up to 25 hours. That is a long time! I do not have to worry about it dying in the middle of cooking. I always remember: charge first, cook later. If you ask me how to charge yummly thermometer, I say, “Charge for 30 minutes or more, and you are ready!”
Here is a quick table to help you remember:
Step | What I Do | Why It Matters |
|---|---|---|
Battery Insertion | Put in 2 AAA batteries | Dock needs power to charge |
Using the Dock | Place thermometer in charging dock | Magnet keeps it secure |
Charging Time | Wait at least 30 minutes | Full charge = 25 hours use |
🥚🍳 I always follow these steps when I want to know how to charge yummly thermometer. My food comes out perfect every time!
How to Charge Yummly Thermometer
Confirming Connection
I always check if my Yummly thermometer is charging right away. I do not want to wait and find out it did not work. Here is what I do:
I put the thermometer in the charging dock.
I look for the light on the dock.
If I see the light turn on, I know it is charging.
If the light does not turn on, I take the thermometer out and put it back in.
🟢 Tip: If the light still does not turn on, I check the batteries. Sometimes I put them in the wrong way. I look at the plus (+) and minus (–) signs. I make sure they match. If I do not do this, the dock will not work.
I learned that the right battery direction is very important. If I do not check, my thermometer will not charge. I always remember this step when I think about how to charge yummly thermometer.
Checking Dock Lights
The dock light tells me what is happening. I like to watch the light because it is easy to understand.
Solid light: The thermometer is charging.
Blinking light: The thermometer is almost done charging.
No light: The thermometer is not charging.
Here is a table I made to help me remember:
Light on Dock | What It Means |
|---|---|
Solid | Charging now |
Blinking | Almost finished charging |
Off | Not charging |
If I do not see any light, I try these steps:
I take out the thermometer and put it back in.
I check the batteries in the dock.
I make sure the thermometer sits flat in the charging dock.
🔋 Note: I always use these steps when I want to know how to charge yummly thermometer. It helps me every time.
I feel happy when I see the light. It means my thermometer will be ready soon. I can cook yummy food with no worries!
Indicators

LED Meanings
The LED lights on my Yummly dock tell me if my thermometer is charging or not. I always look at the lights first. They help me know what is happening. Here is what I see:
Solid light: My thermometer is charging now.
Blinking light: My thermometer is almost done charging.
No light: My thermometer is not charging.
I made a table to help me remember:
LED Light | What I See | What It Means |
|---|---|---|
Solid | Light stays on | Charging now |
Blinking | Light flashes | Almost finished charging |
Off | No light | Not charging |
💡 Tip: I always check the light before I walk away. If I see no light, I know something is wrong. Maybe I did not put the thermometer in right. Sometimes I need to check the batteries. I do not want to wait and find out my thermometer did not charge.
I like how easy it is. The lights are simple. I do not need to guess. I just look and I know.
Charging Complete
I know my Yummly thermometer is fully charged when the light on the dock starts blinking. This is my favorite part. I feel happy because I know I can cook soon.
Here is what I do when I want to check if charging is done:
I look at the dock.
I see if the light is blinking.
If it blinks, I know charging is almost done.
If the light turns off after blinking, I know charging is finished.
🟢 Note: Sometimes I forget to check. If I leave my thermometer in the dock for a long time, it will stop blinking and the light will turn off. This means it is ready. I can take it out and start cooking.
I always wait for the blinking light. I do not take the thermometer out too soon. If I do, it may not last long when I cook. I want to make sure it is ready.
Here is a quick list to help you remember:
Solid light: Charging
Blinking light: Almost done
Off: Finished charging or not charging
I use these steps every time. My thermometer works great. My food comes out perfect. I think the lights make it easy for me. I do not worry about charging anymore. 😃🍖
Yummly Smart Thermometer Tips
Best Practices
I always follow these best practices to keep my yummly smart thermometer working great:
Charge before every use. I plug my wireless thermometer into the dock for at least 30 minutes before I cook. This helps me get the best results.
Check the batteries in the dock. If my dock does not light up, I look at the batteries. I make sure they are fresh and in the right way.
Keep the dock and thermometer clean. I wipe them with a soft, dry cloth. I do not use water or soap because I do not want to break my wireless thermometer.
Use the magnetic dock for easy storage. I stick the dock to my fridge or oven. The magnet holds it tight. I never lose my yummly smart thermometer this way!
🧑🍳 Tip: I always charge my wireless thermometer before I start cooking. I do not wait until the last minute. This makes my cooking easy and fun!
Here is a quick table I made to help me remember:
What I Do | Why I Do It |
|---|---|
Charge before use | Makes sure thermometer works well |
Check dock batteries | Dock needs power to charge |
Clean with dry cloth | Keeps thermometer safe |
Use magnetic dock for storage | Easy to find and store |
Storage
I store my yummly smart thermometer in the magnetic dock when I am not using it. The dock sticks to my fridge or oven. I like this because I always know where my wireless thermometer is. I do not put it in a drawer or leave it on the counter. I want to keep it safe and ready.
I do not let my thermometer get wet or dirty. I keep it away from water and food. If it gets dirty, I use a dry cloth to clean it. I never use soap or put it in the dishwasher.
I charge my yummly smart thermometer every time after I use it. This way, it is always ready for my next meal. I do not have to worry about low battery when I want to cook.
🟢 Note: The magnetic dock is not just for charging. It is also for storage. I love how easy it is to use. I just stick it to a metal surface and forget about it until I need it again!
In short, I always charge, clean, and store my yummly smart thermometer in the dock. My wireless thermometer stays safe, clean, and ready for my next cooking adventure. 🍖🍳
Troubleshooting
Not Charging
My Yummly thermometer is not charging. What should I do?
First, I check these things:
Check the batteries in the dock.
I open the back of the dock. I look at the batteries. Are they new? Are they in the right way? I look for the plus (+) and minus (–) signs. If the batteries are old or in the wrong way, my thermometer will not charge.Check the dock.
I look at the dock. Is it clean? Sometimes dust or food gets inside. I wipe it with a dry cloth. I do not use water.Check the thermometer.
I look at my thermometer. Is it dirty? I wipe it with a soft cloth. I make sure it is dry.Check the light on the dock.
I put the thermometer in the dock. I look for the light. If I see no light, something is wrong.
🛠️ Tip: I always start with the batteries. Most times, new batteries fix the problem.
Checking Connections
How do I fix the connection if my thermometer still does not charge?
I try these steps:
I take the thermometer out of the dock.
I wait for 5 seconds.
I put the thermometer back in the dock. I make sure it sits flat.
I look for the light again.
If the light turns on, I know it is charging. If not, I try again. Sometimes, I need to do this two or three times.
Here is a table to help me remember:
What I Do | What Happens |
|---|---|
Take out thermometer | Reset the connection |
Wait 5 seconds | Give it time to reset |
Put thermometer back in dock | Try to start charging again |
Look for light | Check if charging works |
🔄 Note: I call this my “reset trick.” It works for me most times!
When to Contact Support
When should I ask Yummly for help?
I contact Yummly support if:
I try new batteries, but the dock still does not light up.
I clean the dock and thermometer, but nothing works.
I reset the thermometer many times, but it still will not charge.
The light on the dock never turns on, even with everything new and clean.
📞 Tip: I go to the Yummly website or look in the app for help. I tell them what I tried. They help me fast!
Here is a quick list for when to contact support:
Dock does not light up with new batteries.
Thermometer will not charge after cleaning.
Reset trick does not work.
I feel stuck and need help.
I do not wait too long. If I cannot fix it, I ask for help. Yummly support is nice and helps me cook yummy food again! 🍗😊
Battery Care
Replacement
How do I change the batteries in my thermometer dock?
I change the batteries by opening the back of the dock and putting in two new AAA batteries.
I do this when the dock light does not turn on or my thermometer does not charge. I always use fresh batteries. I look for the plus (+) and minus (–) signs. I match them with the signs inside the dock. I close the back tight. I check the light again.
Here is how I do it:
I take the dock off the fridge or table.
I open the back cover.
I take out the old AAA batteries.
I put in two new AAA batteries. I match the plus and minus signs.
I close the back cover.
I put the dock back and check the light.
🔋 Tip: I always keep extra AAA batteries at home. I do not want to run out when I want to cook!
Longevity
How do I make my batteries last longer?
I make my batteries last longer by charging my thermometer only when I need to and keeping everything clean.
I do not leave the thermometer in the dock all the time. I charge it before I cook. I take it out when it is done. I keep the dock and thermometer dry and clean. I do not use water or soap.
Here are my best tips:
I use good quality AAA batteries.
I do not mix old and new batteries.
I store the dock and thermometer in a cool, dry place.
I clean the dock and thermometer with a dry cloth.
I check the batteries every month.
Here is a table to help me remember:
What I Do | Why I Do It |
|---|---|
Use good batteries | Lasts longer |
Charge only when needed | Saves battery power |
Keep everything clean and dry | Stops battery problems |
Check batteries every month | No surprise dead batteries |
😊 Note: My yummly smart thermometer works best when I take care of the batteries. I always follow these steps. My food comes out yummy every time!
I always get the best results when I charge my Yummly thermometer the right way! Here is what I do:
Put in new AAA batteries.
Place the thermometer in the dock.
Wait for the light to show charging.
Charge for at least 30 minutes.
If I have trouble, I use my troubleshooting tips. I follow these steps every time. Cooking feels easy and fun now! 🍗😃 My thermometer helps me make yummy food for my family.
FAQ
How do I connect my wireless thermometer to my phone?
I open the smartphone application and follow the steps.
I turn on Bluetooth. I tap “Add Device.” My wireless thermometer shows up. I tap it. Now I can see the temperature on my phone. 📱
Can I use the wireless probe in the oven?
Yes, I use the wireless probe in the oven.
I put the wireless probe in my meat. I close the oven door. The probe tells me the temperature. I check it on my phone. 🍖
What should I do if my wireless thermometer does not connect?
I restart the smartphone application and try again.
I check Bluetooth. I close the app. I open it again. I try to connect. If it still does not work, I take out the batteries and put them back. 🔄
How long does the wireless probe battery last?
The battery lasts up to 25 hours after charging.
I charge the wireless probe for 30 minutes. I can cook many meals before I need to charge again. 🔋
Can I wash my wireless thermometer with water?
No, I do not wash it with water.
I use a dry cloth. I wipe the wireless thermometer. I keep it dry. Water can break it. 🚫💧
Why does my thermometer show the wrong temperature?
Maybe the probe is not in the food right.
I check if the wireless probe is deep in the meat. I make sure it is not touching bone. I restart the app. Sometimes this fixes it. 🍗
Can I use the wireless thermometer outside?
Yes, I use it outside for BBQ.
I put the wireless thermometer in my food. I watch the temperature on my phone with the smartphone application. It works in my backyard. 🌳